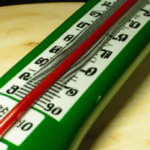
Whether you’re taking fever readings or using a medical thermometer in your home, it’s essential to ensure that it is properly calibrated and accurate. But how do you calibrate a thermometer? What steps do you need to take and how often should you check it?
In this article, we’ll talk about how to calibrate a thermometer and answer all of your questions about this important process. We’ll quickly guide you step by step through the calibration procedure and explain why it is so important. So read on to find out everything you need to know about calibrating your thermometer.
Table of Contents
How to calibrate a thermometer
Calibrating your thermometer is an important and essential step to get the most accurate readings. Here’s a step-by-step guide on how to correctly calibrate a thermometer:
- Fill the glass container: Fill a large container with crushed ice, and then add clean cold tap water until it’s filled up. Then stir the mixture.
- Insert the thermometer probe: Make sure that the stem/probe of the thermometer is not touching bottom or sides of the glass container. Once in position, hold the thermometer by its top.
- Wait for steady reading: Wait for 30 seconds or until a steady reading appears.
It is important to make sure that the readings are accurate. If you suspect that your thermometer might be off, you can repeat these steps. To ensure an accurate temperature reading, make sure your thermometer is in working condition and in calibration.
If you are looking for highest accuracy during calibration, you should use ice water slurry instead of regular tap water since it has a more consistent temperature and structure. You can also use saltwater instead of tap water as salt increases the water’s density and maintains a relatively constant temperature.
It is important to remember to check your thermometers regularly so that you can get reliable readouts whenever you need them. With these easy steps, you’ll have no problem calibrating all of your thermometers and achieving accurate measurements.
Checking the Accuracy of a Thermometer: An Easy Step-by-Step Guide
Checking the accuracy of your thermometer is a simple and straightforward process that can help to ensure reliable readings when measuring temperature. There are a few steps one should take in order to make sure that their thermometer is reading correctly.
Step 1: Fill a tall glass with ice and add cold water.
Start by filling up a tall glass with ice and adding cold water on top. Make sure to fill the glass almost all the way to the top.
Step 2: Place and hold the thermometer in the ice water for 30 seconds without touching the sides or bottom of the glass.
Next, take your thermometer and submerge it into the water without touching the side or bottom of the glass. Make sure to hold it there for at least 30 seconds. This will allow for an accurate reading based on the surrounding temperature of 32°F.
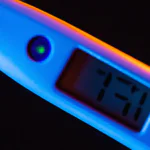
Step 3: Read the temperature displayed on the thermometer.
After maintaining your thermometer in the icy water for 30 seconds, take it out and measure its displayed temperature. If it reads 32°F, then your thermometer is reading correctly.
Tips and Tricks
- Make sure to keep your thermometer away from direct heat sources or sunlight as this will affect its accuracy.
- When measuring different temperatures, wait at least one minute between readings to allow for accuracy.
- Never leave your thermometer submerged in any liquid as this can cause damage.
No Touch Thermometers: Can You Calibrate Them?
Today, non-contact thermometers have grown in popularity as they can measure temperature without having to even touch the surface of the object. But how do you make sure that your non-contact thermometer is accurately calibrated?
The easiest way to check a non-contact thermometer’s accuracy is to use an ice bath. To create an ice bath for your thermometer, you don’t have to fill up an entire bathtub. All you need is a large glass container and a few cups of ice.
Here are the steps needed to successfully create an ice bath:
- Fill the glass with cold water.
- Add several cups of ice into the water.
- Stir the mixture with a spoon or stirrer until it reaches a cold and stable temperature.
- Submerge your non-contact thermometer in the ice bath for five minutes.
- Compare the temperature reading on your thermometer to the freezing point of water (32°F).
If your thermometer reads 32°F or close enough, then it is well calibrated and ready for use. However, if it reads differently, then that means it needs recalibration to ensure accurate readings.
By using this simple calibration method, you can be sure that your no contact thermometers will give the most precise readings when measuring temperature.
How Often Should You Calibrate Your Thermometer?
Accurate temperature readings are essential in many industries such as research, medicine and food production. As such, it is important to correctly calibrate your thermometer. But how often should this be done? Below are four key scenarios when you need to recalibrate your thermometer.
- Before Use
- If Dropped
- Going from one Temperature Range to Another
- After Long Storage Time
When buying a new thermometer, it is important to calibrate it before first use. This will give you an accurate baseline reading which makes future calibration checks more accurate. Mechanical thermometers should also be calibrated before use.
If your thermometer is dropped and the temperature sensor inside is damaged, it’ll cause inaccurate readings. It’s important to assess the severity of the damage and send it for calibration if necessary.
If you’re using your thermometer outside of its typical range and environment, it can also affect the accuracy of readings. In this case you’ll need to recalibrate your thermometer as certain temperatures can result in different errors.
It’s also recommended that you calibrate your thermometer periodically even when you’re not using it. This is particularly true if you plan on storing it long-term (more than 8 weeks). Long-term storage can cause certain components like batteries or lubricants used in mechanical models to wear out, so periodic calibration checks are a must.
Remember, if not done correctly, using an uncalibrated or improperly calibrated thermometer is more than likely going to introduce potential errors into the readings. Make sure you always use a calibrated thermometer for the most precise results!
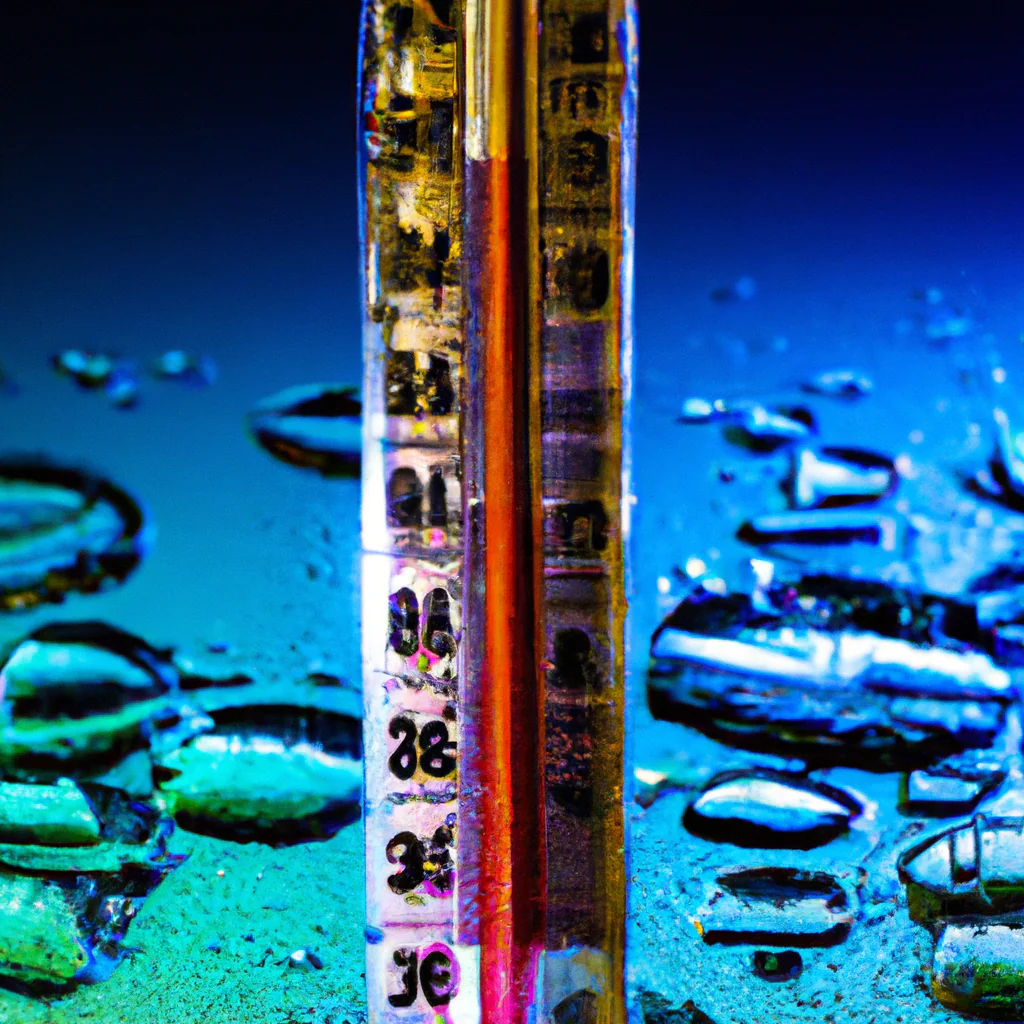
Calibration with Ice: A Simple Trick to Achieve Perfect Results
Calibrating a thermometer with an ice bath is an easy and effective way to ensure accurate temperature readings. To start, you will need an ice bath created by adding equal parts of water and ice to a container. Make sure that the needle on your thermometer is not touching the bottom or walls of the container.
Place the thermometer probe in the ice bath and stir for at least one minute. Once done, wait until the needle stops moving completely. If the thermometer does not read 32°F (0°C), adjust it while keeping the probe in the ice bath.
To make sure you have a accurate calibration, there are some steps to consider:
- Ensure that equal parts of water and ice are used for your ice bath.
- Place the thermometer in the center of the container and make sure that it is not touching any sides or bottom.
- Stir gently while taking care not to tip over or disrupt the ice bath too much.
Once you follow these steps, be sure to double-check with a reference thermometer if available.
Calibrating your thermometer with an ice bath is easy and effective, if done properly. With a little bit of practice and patience, you can confidently use it for all your food safety temperature measurements!
Accuracy and Precision: Tell the Difference with a Thermometer
The ice bath test is one of the most reliable ways to test a thermometer for accuracy. It’s particularly useful when it comes to measuring temperatures of 32°F or below.
Basically, to perform an ice bath test, you need to prepare an ice bath with equal amounts of water and ice. The thermometer should be placed in the center of the bath, and the temperature should read at exactly 32°F. This reading indicates that the thermometer is accurate.
There are several advantages to using this method:
- It works regardless of altitude or atmospheric pressure.
- The same methodology applies for all types of thermometers – digital, analog, laboratory-grade.
- It doesn’t require any special equipment.
When it comes to testing a thermometer for accuracy, the ice bath test is both simple and reliable. It takes minutes to set up and gets you an accurate result – making it much easier than other methods such as mercury-in-glass thermometers.
Precision and accuracy, after all, are essential when it comes to activities like cooking, lab experiments and medical procedures. Having a reliable thermometer helps ensure your results are correct and that your end result is safe.