Cooking meat correctly is important to ensure it’s properly cooked and safe to eat. But how do you make sure your meat is cooked to the right temperature? An easy and reliable way to do this is with a meat thermometer!
In this article, we’ll show you how to use a meat thermometer to check the temperature of your meat accurately. We’ll answer all your questions about when to use your thermometer and how to check the accuracy, so you can cook your meat to perfection every time.
Table of Contents
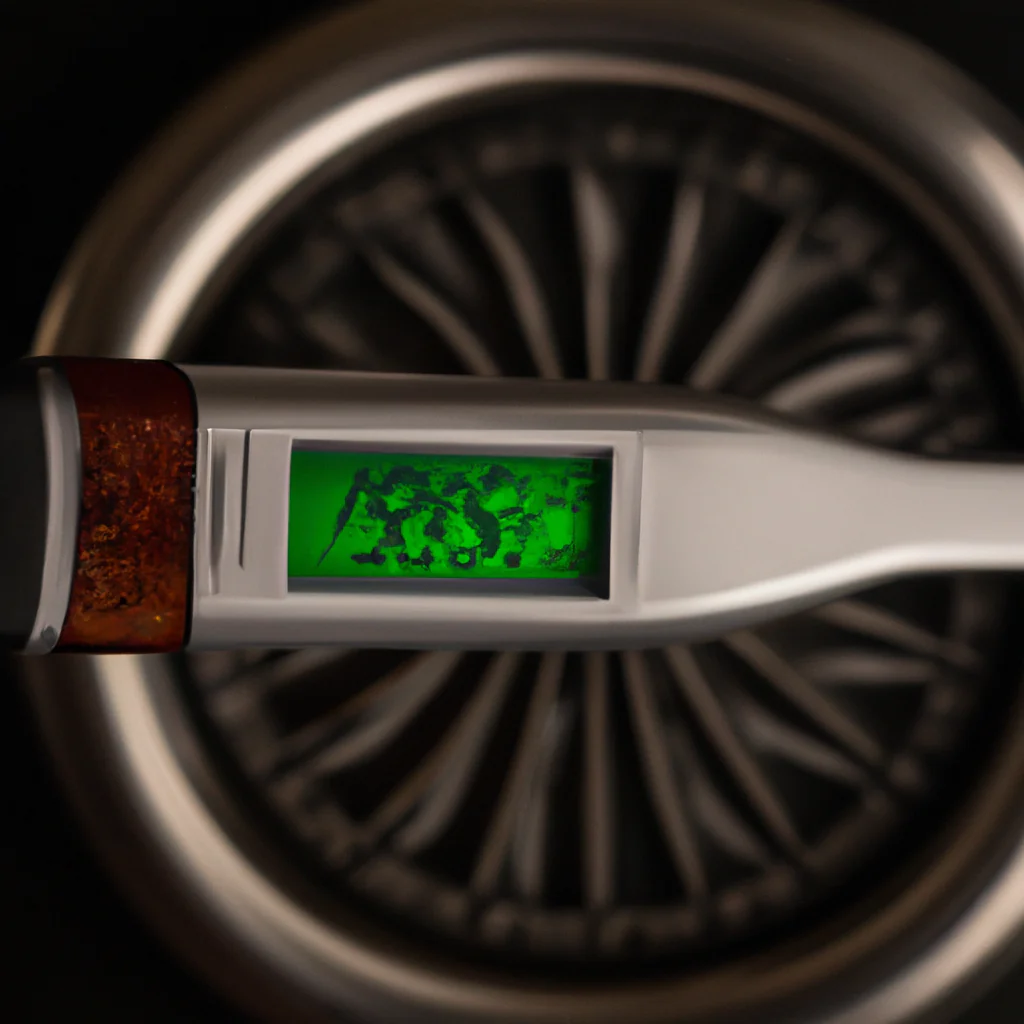
How do you check temperature with a meat thermometer?
Do you want to know how to quickly and accurately measure your temperature without having to be a rocket scientist? Then you should definitely consider using a meat thermometer! It’s easy to use and you can get the results in no time.
Here’s how you can use a meat thermometer for fever:
- Take the meat thermometer and hold it firmly between your thumb and index finger.
- Open your mouth and place the tip of the thermometer under your tongue.
- Try to keep the thermometer fixed in place and wait for the time indicated in the instructions (usually between 30 seconds and 2 minutes).
- Once the timer is up, take out the thermometer from your mouth, read the temperature displayed on its screen, and write it down if needed.
It really is that simple! A meat thermometer is an afforable device that everyone can easily use.
Remember:
Never use one single measurement as an absolute indicator of fever since temperatures may vary from time to time. If you feel like something doesn’t seem right, or if results are inconsistent, seek medical opinion for further diagnosis.
In conclusion: even if you’re not a rocket scientist, measuring inflammatory fever with a meat thermometer is very easy. All that’s needed is to follow these four simple steps!
The Right Time to Stick a Meat Thermometer
Cooking meat is an art and science. You want to ensure it’s cooked perfectly, not undercooked nor overdone. A great tool that can help with this is a meat thermometer. But when should you insert the thermometer during the cooking process? Good Housekeeping has the answer.
Good Housekeeping advises that you should insert the thermometer toward the end of cooking. This ensures your meat has been cooked all the way through, so that it isn’t overcooked or too raw. According to Helen Papantoniou, who is a registered dietician, if you’re following a recipe, “start checking about 10 minutes before the cook time expires.”
Before inserting your thermometer into the meat, it’s important to learn how to correctly use it. First off, be sure to purchase a food-safe thermometer specifically designed for meat and poultry. Insert the probe into the thickest part of the meat, but not touching fat or bone. Avoid piercing any pockets that have filled up with juices since this will cause inaccurate readings.
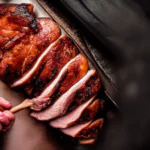
Although different proteins require different internal temperatures before they become edible – you can find these temperature here – FDA Web site, most proteins need to reach an internal temperature between 145°F (medium rare) and 170°F (well-done).
To make sure your cooked proteins are safe to eat and don’t contain harmful bacteria, follow these 4 steps:
- Thoroughly clean your thermometer: before and after each use with hot, soapy water.
- Sanitize your work space: this includes countertops and utensils used.
- Wash hands: (and sanitize if possible) as bacteria on hands can easily spread onto food surfaces.
- Check internal temperature: (using a food thermometer) to ensure food safety and reduce chance of foodborne illness.
By using a meat thermometer you can ensure that your dishes are cooked safely and also that they taste great! With these tips in mind, now you have a better idea of when to insert a thermometer while cooking so you can make delicious meals every time.
Ensuring Accurate Readings with Your Meat Thermometer
Having the right tools when grilling and barbecuing is essential to getting a delicious meal. If you’re using a meat thermometer to make sure your food is safe and properly cooked, it’s important that the thermometer is working correctly. Here are some steps you can take to test your thermometer:
- Fill a tall glass with ice and add cold water.
- Place the thermometer in the ice water for 30 seconds, making sure not to touch the sides or bottom of the glass.
- Check the thermometer reading.
If the thermometer reads 32°F, then you can be sure that it’s working correctly. This temperature corresponds with water at its freezing point and will ensure that your thermometer is giving accurate readings.
If your thermometer does not read 32°F, then there might be an issue with it. Consider calibrating or recalibrating it to make sure you get precise readings. For example, if your thermometer reads too low, you can use a boiling point calibration method to adjust it.
When testing your meat thermometer, always double-check the accuracy of its readings with a secondary device such as an instant-read digital probe. Don’t forget to sanitize your food probes regularly using bleach or alcohol solutions.
Using a quality thermometer is essential for ensuring proper food safety and ensuring great tastes. Making sure your particular device is accurate is easy and can be done in moments with some ice water. With this simple test, you can be sure that the temperature readings you get from your meat thermometers will be precise and reliable.

Poking the Right Depth with a Meat Thermometer
If you’ve ever cooked something like a roast or turkey, you know how important it is to get that perfect juicy interior. Unfortunately, many of us underestimate the temperature of our meals. This is why it’s so important to use a quality meat thermometer for accuracy and safety.
To get an accurate reading, the thermometer must be placed correctly. Most thermometers require you to insert the probe at least 1/2 inch into the meat but if your piece of meat is thicker than one inch, then you’ll want to go further than just one half-inch. This ensures that the thermometer reaches the very center of the food. Specifically, this means Thermoworks models will require only 1/8 inch of insertion.
To make sure you’re doing this step correctly, here are some helpful tips:
- Always read the instruction label – Make sure to read up on the device you have before going all in with the heat!
- Always measure your food – Knowing the thickness of your food will help determine what depth you should stick in your thermometer.
- Always stick your thermometer deep enough – Inserting your thermometer too shallow can lead to inaccurate results.
Following these simple steps will help ensure that your meal is cooked perfectly every time and that you can enjoy it safely and with confidence.
Flying All the Way Through? What You Should Let Your Meat Thermometer Do
Using a meat thermometer is the key to cooking meats to perfection! Meats of different thicknesses, shapes, and sizes require different cooking times and temperatures. A great way to make sure your meats are cooked perfectly is to use a thermometer. But how exactly do you use one?
It’s simple! Whenever you need to take the internal temperature of a meat, always stick the thermometer into the thickest part of the flesh. The surface temperature is always hotter than the center since they cook at different rates, so it’s extremely important that you take an accurate reading from the inside.
To ensure accurate readings, make sure to do the following:
- Insert the thermometer into the flesh, not into bones.
- Insert it completely, making sure that the top is touching the center of your meat.
- Wait until you get a stable reading , as this will give you a true indication of your meat’s temperature.
With these few tips in mind, you can make sure that your thermometer reads accurately every time. It may seem like a small part of cooking, but it can make a big difference in ensuring that your meals come out perfectly cooked. So don’t skimp on this essential tool!
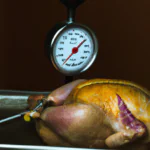
Letting Your Meat Thermometer Help You Cook Safely
Inserting a thermometer into whole poultry and roasts at the beginning of the cooking time is an essential step in ensuring food safety. Much like checking an internal temperature for Thanksgiving turkey, guidelines for other meats also require a precise monitoring of the food’s core temperature.
Before you start cooking, it is important to make sure the thermometer probe is inserted in the center of the thickest portion without touching fat or bone. This will provide more accurate readings throughout the cooking process.
Here is what you should do:
- Check that your thermometer works properly and has been calibrated to give correct readings
- Insert the thermometer in the center of the thickest portion without touching fat or bone
- Leave it there while cooking
- Check readings regularly as the food cooks
In general, poultry should be cooked to an internal temperature of 165 degrees Fahrenheit and roasts should reach a minimum internal temperature of 145°F to ensure they are safe to eat.
By taking these precautions, you can make sure that your meals are cooked safely and thoroughly. Remember that food safety is particularly important during times when there might be bacteria present due to poor food handling or storage procedures.